Below are the 2 EASIEST DIY projects to do on the fly! So if you have company coming over later tonight, you still have time to change up your guest bedroom AND then whip up a sangria and fajitas!

Background story: I recently painted my guest bedroom, then brought in furniture and decor I liked. I loved all the pieces I added but I was not happy with the end result!
I asked my hubby, my friends, and my sister, what was missing??? I stood in the room pulling my eye brows out until it hit me.....I needed RED to tie it all together! I looked at my wallet and did not have much cash so I did what you see below. What a difference!!
Here is how I added the red:
ADD RIBBON TO YOUR DRAPES IN AN HOUR!

Check out this BEFORE and AFTER of the drape!

1. Ribbon
2. Tacky Glue
3. Scissors
How much ribbon do I need?
First measure your curtain length. You will need 4xs that for a pair of drapes. For example, my drapes are 7' long so for the pair of drapes, I needed 28' of ribbon.
What kind of ribbon should I look for?
Buy ribbon that has a little give and won't wrinkle on you. I used a satin red ribbon.

The plan is to run the ribbon down the BACK SIDE of your drape. This is important because you want to hide the glue and make the ribbon look more natural peeking out from behind.

Place the drape UPSIDE DOWN on a hard surface. Starting from one end of the drape, run a line of glue down the side (I ran 2 lines of glue side by side as shown because my ribbon was wide). USE THE HEMLINE as a guide for the glue line!
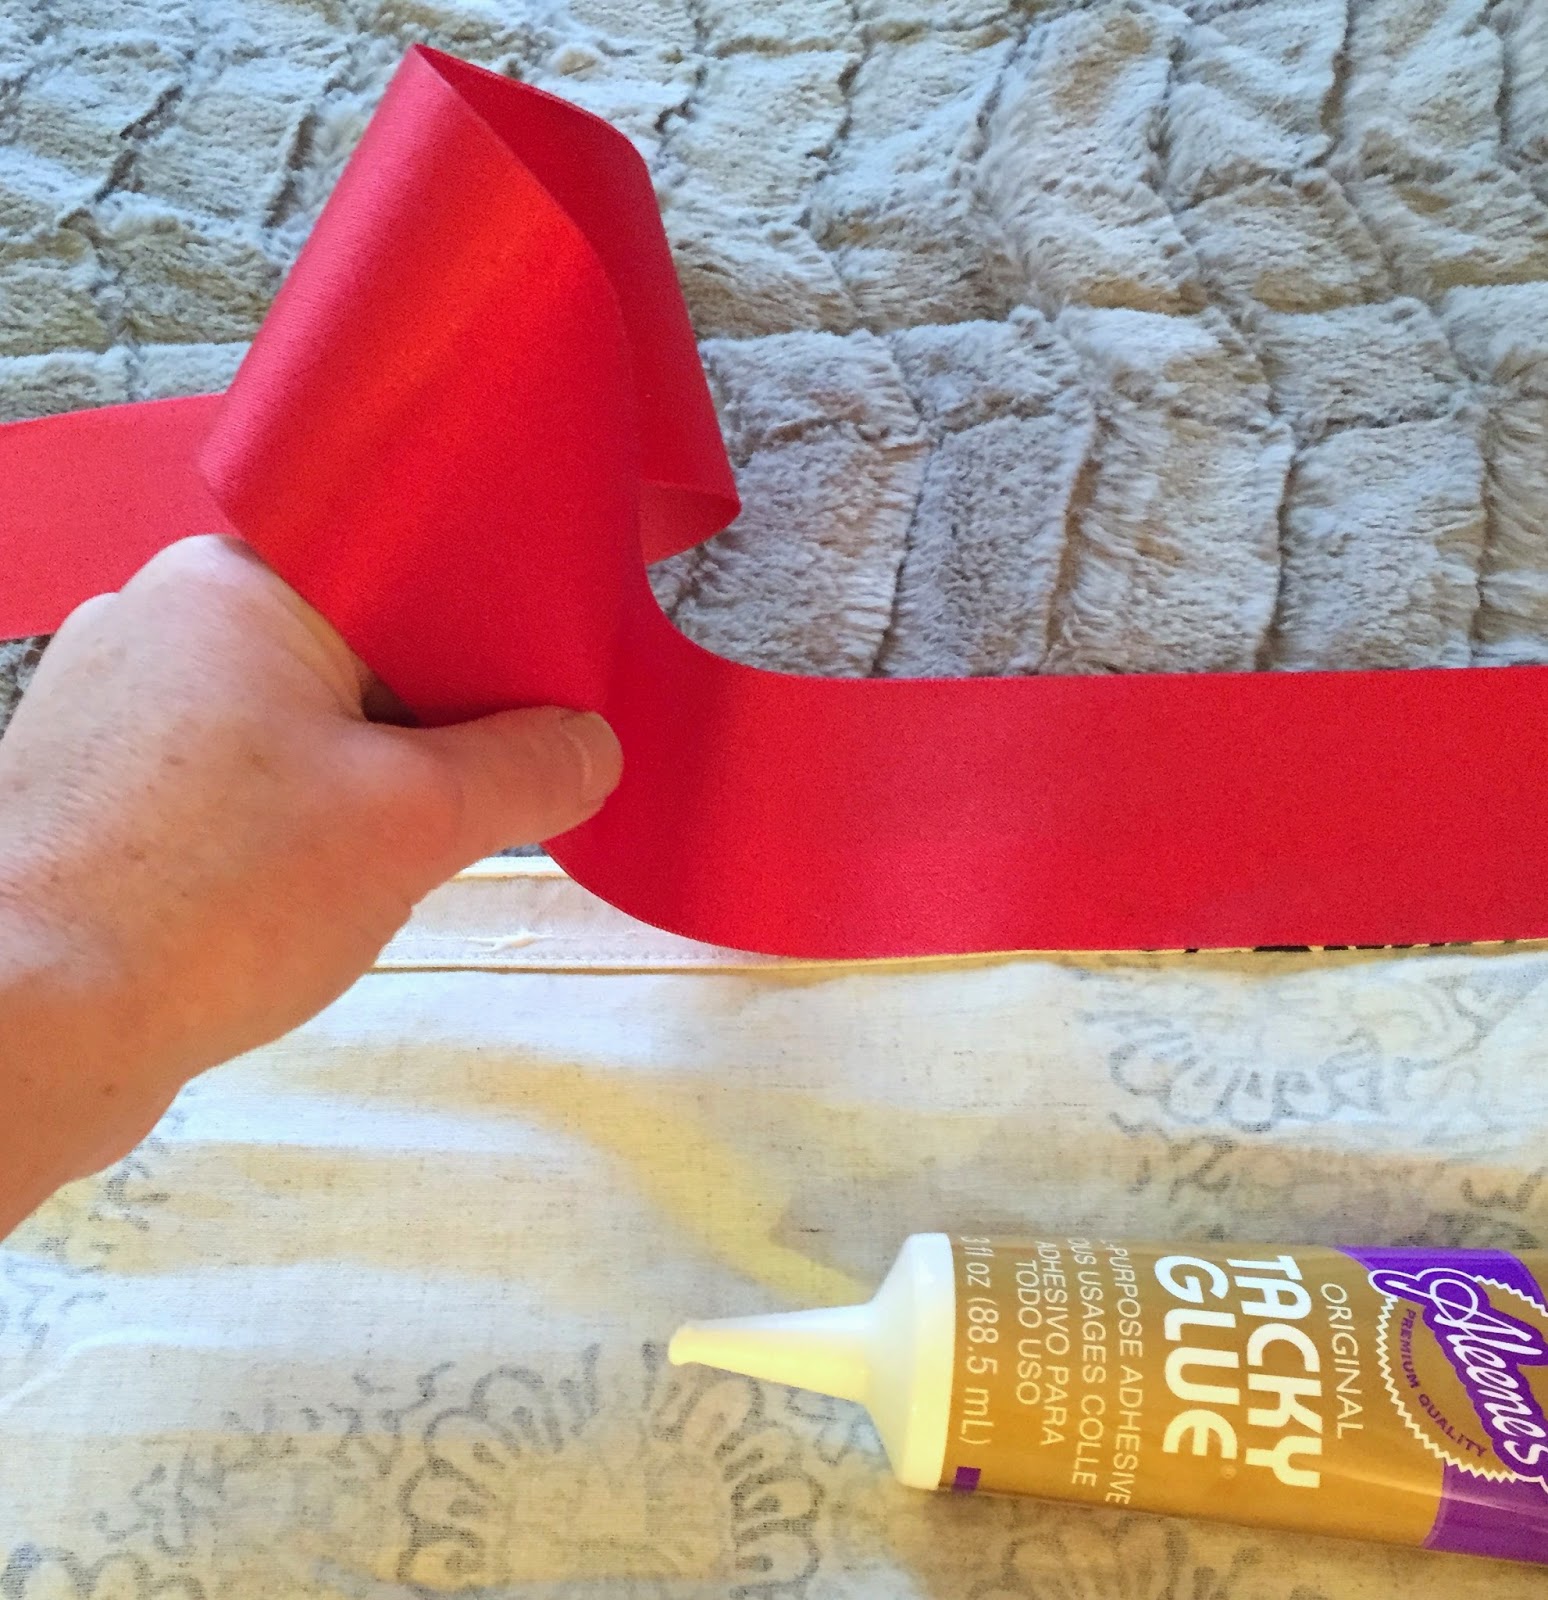
Starting from one end of the drape now that is has glue on it, slowely roll your ribbon down it keeping it straight along the hemline of the drape.
(Note: if you have back tabs on your drapes, simply cut part of ithe stitching off to let the ribbon lay behind it, then use the glue to glue it back on!)

Using your fingertips, press down on the attached ribbon to help it adhere to the drape more permanently. If possible, place something heavy on the entire thing ribbon like books! It doesn't take long for it to dry!

Improvise: I let my drapes dry on a bed and placed artwork and art supplies on top to press down the glue.

This is a close up of the finished look!

Drapes Closed
I am in love with the ribbon!

Drapes Opened
ADD RIBBON TO YOUR LAMP SHADE


What you need:
1. Lamp shade
2. Tacky glue
3. Scissors
4. Ribbon
What kind of ribbon should I look for?
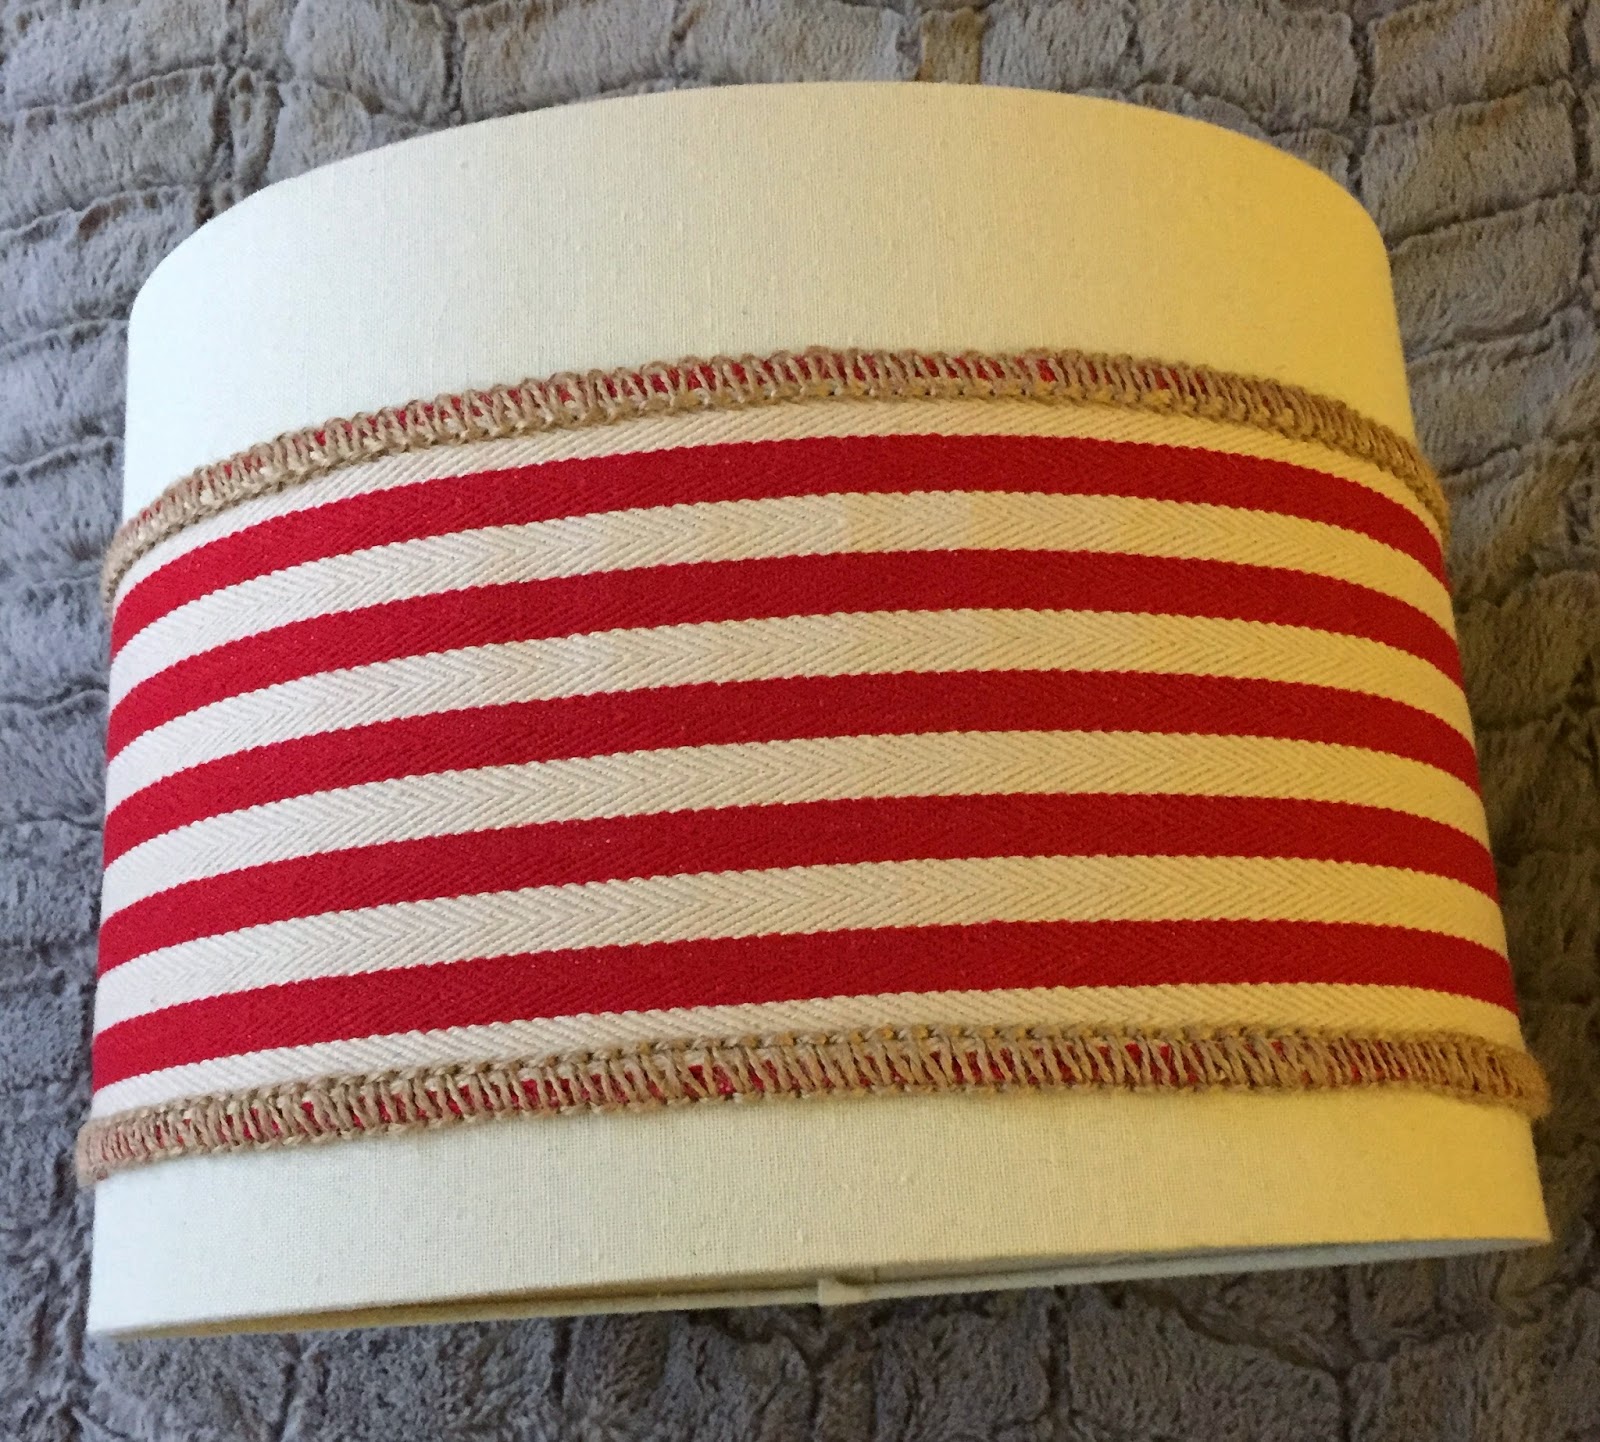
Go for something thick so you don't see glue bleeding through it. I suggest a burlap, woven, or layered ribbon. Also use one that is wide. The ribbon I used is soft, woven and thick.

The plan is to glue the ribbon to the lamp. THAT'S IT!

Find the seam of the lamp shade. Starting at the seam, glue down the ribbon and work your way around. When you reach the seam, cut the fabric and finish!
Note: the ribbon I used has finished edges so I cut one side then overlapped it with the finished edge when I worked my way around. If you don't have a finished edge, tuck the unfinished edge inward and fold over, then press down.

The seam side will look like this when you finish.
Here is what the other sie looks like!

*I also quickly changed out the knob to something sassy!
ONE MORE RED DIY using my leftover fabric

Using my leftover fabric and tacky glue, I added a ribbon to a pillow.....I am so happy with this! Super cute and cheap!

One more idea:

Drape Dilemna: I want to share one more idea. This guest bedroom has a double window that really requires four drapes to fully cover the window and still have beautiful folds. To create the fullness I hand sewed two store bought panels together to make it look like one really long panel. So in this guest bedroom I have 4 curtains. It functions so much better and you can't see the seam through the folds!
More Room Photos


Comments