Meet my new lovely furniture piece (well its not new but received a makeover) ....

BEFORE AND AFTER


I have had this buffet with hutch for a very long time. It was my Grandmothers and reminds me of her so I love it......just not the look of it. It was made in the 1940s and has taken me years to be OK with refinishing it.
I have refinished furniture before and it was a lot of work (sanding, priming, blah blah). A friend told me about chalk paint and said it was so much easier to use. No sanding to prime the piece! I headed to the paint store and picked up Rust-oleum Chalked Paint and Sealer. The Sealer protects the paint from wear and tear. I have read that wax (used as a top coat for chalk paint) needs to be re-applied every few months and I didn't want to deal with that. :)
You get a vintage look with a matte finish when complete.
THE PROCESS

I used their LINEN color (I applied three coats).
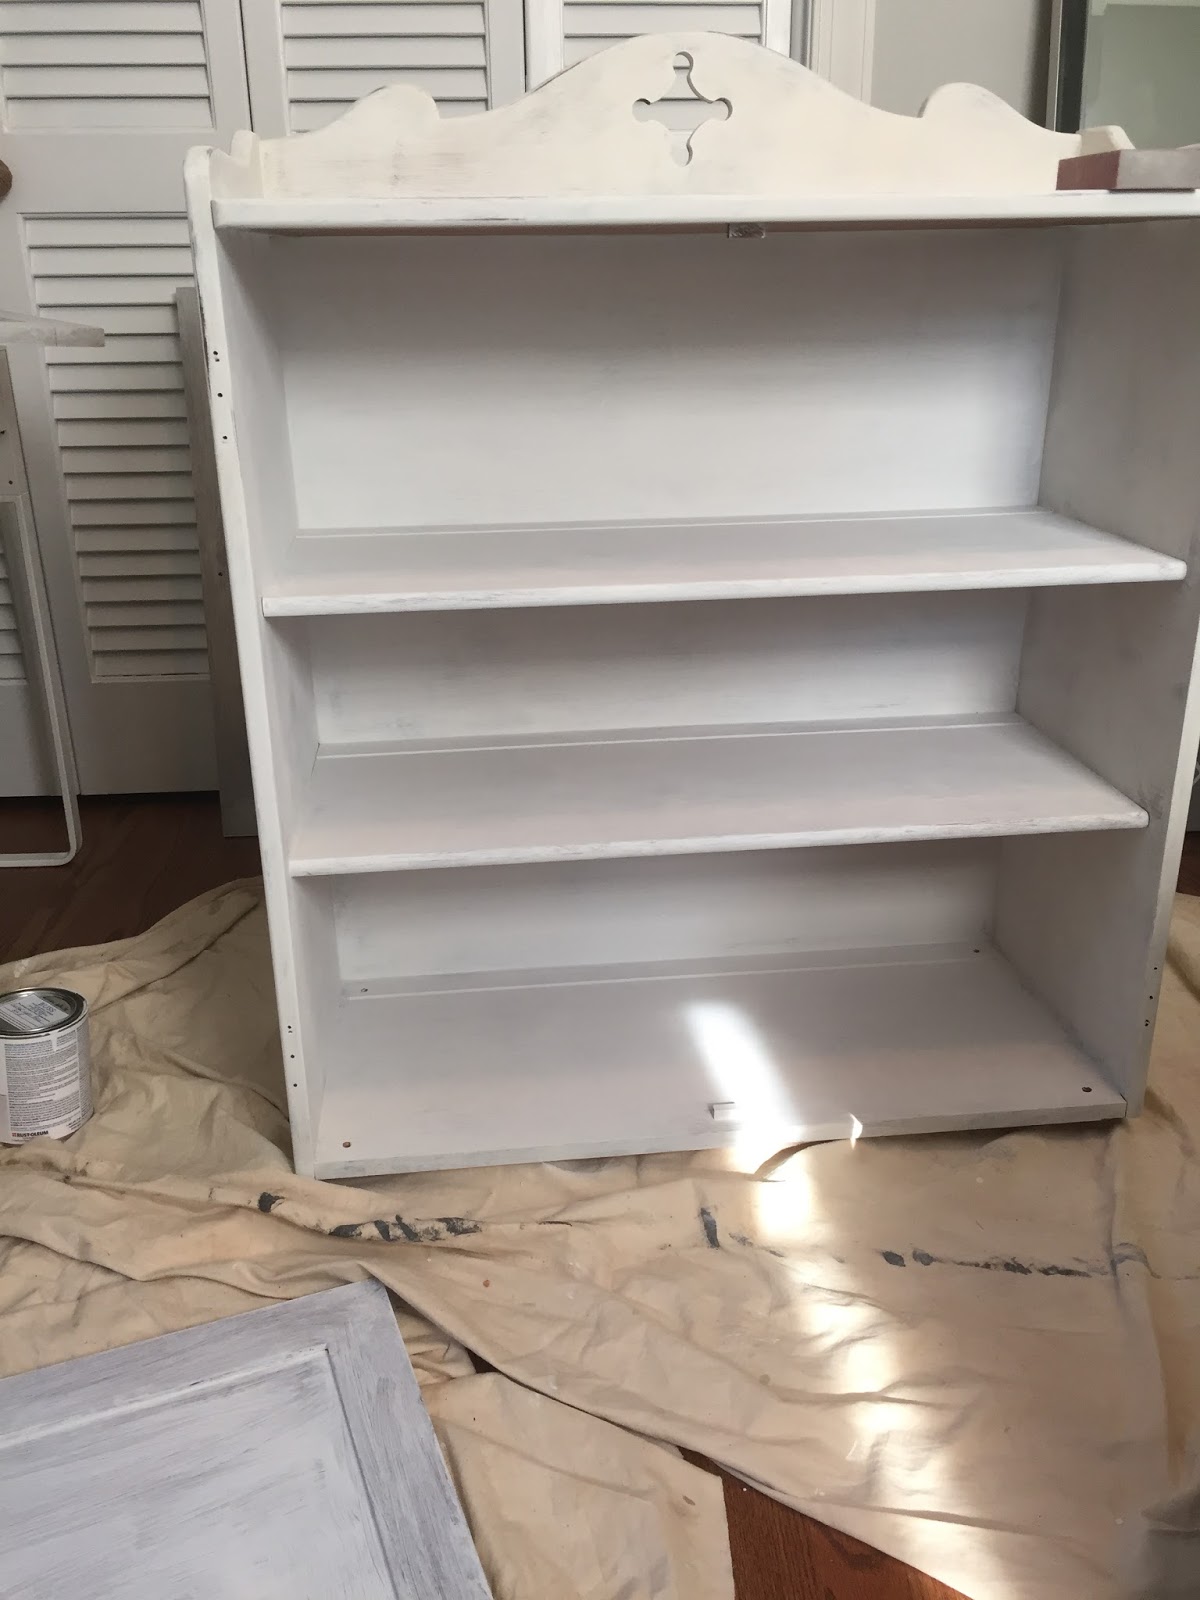

I took the pieces apart and used a slightly damp rag over it to make sure it was clean before painting.
Then I applied the first coat. Then two more coats. As I said earlier, its a chalked distressed look I was after and I could see my brush strokes. The more coats you do the less brush strokes you see. The instructions on the can are well done. Read them before starting the project.

I used a smaller brush for the grills and tiny pieces.

"Meow" (gotta have fun!)
NEXT STEP
Once the LINEN color was dry I started to paint the back of the upper cabinet COASTAL BLUE using the same brand Rust-Oleum Chalked Paint.

Heres what the color looks like.

I taped off each back wall with green painters tape to keep the paint only in the areas I wanted blue. (TIP: stronger painters tape options will stick to your paint and pull it off when you remove it-chalk paint is not protected until you have the sealer on).

I only needed to apply two coats of the blue paint.
DISTRESS IT

Lastly I lightly sanded the edges around the doors and sides of the base and top so the wood showed through a bit.
SEAL IT

I then brushed on the Sealer. It was easy to apply. Looked milky but dried clear. IT DID GIVE A YELLOWISH TINT IN SOME AREAS. I read online this is typical. I added dry brush strokes of the LINEN to lighten those areas up. (there are a lot of good tips online about using chalked paint and sealers!)
RESTORING THE HARDWARE
I bought new gold pulls for the drawer and cabinets but restored the original door hinges.

I let that dry and moved on the hardware.
There are a lot of helpful tips online to get rusty hardware clean. I used a Brillo pad and baking soda paste (just a little water added to baking soda) on the pieces, then after cleaning them off, I let them sit over night in vinegar. Then used brill pad again with the baking soda paste. It worked really well!
HERE IS THE FINISHED PIECE

REMEMBER THE BEFORE PHOTO?


NEW CABINET PULLS


I picked up the pulls at Hobby Lobby.

*I can't find the crystal knob on their website but you can try to find it at the local store!


This chalked paint comes in an assortment of pretty tones to choose from! If you have a local store that carries this paint, pick up the brochure that shows the color options. Here are just a few:

Comments